NiceHash Ideal for beginners eager to explore the mining realm, NiceHash offers an accessible way to turn your computer's CPU or GPU into a crypto-mining powerhouse. With user-friendly software and a speedy setup, anyone can become operational with a NiceHash miner in no time.
One standout aspect of NiceHash is its ability to automatically adapt to the most profitable algorithm available, ensuring you get the best out of your hardware. In this walkthrough, we'll delve into the basic requirements, how to connect your Bitcoin wallet, and the installation and configuration of NiceHash.
NiceHash Mining Guide
To have a stable mining rig, certain prerequisites must be adhered to.
Minimum Requirements:
- Windows 7 or newer 64-bit OS
- Ensure your CPU supports SSE2 if you plan on CPU mining.
- For those using an NVIDIA GPU, make sure it supports compute capability.
- AMD GPU users should verify OpenCL support before proceeding.
- Keep your CPU drivers up-to-date for optimal performance.
- Microsoft .NET Framework 2.0
- Install Microsoft Visual C++ Redistributable 2013 to ensure compatibility.
- Internet Connection
Before diving in, double-check that all your drivers are current to avoid potential issues. Be aware that antivirus programs may flag this software as harmful.
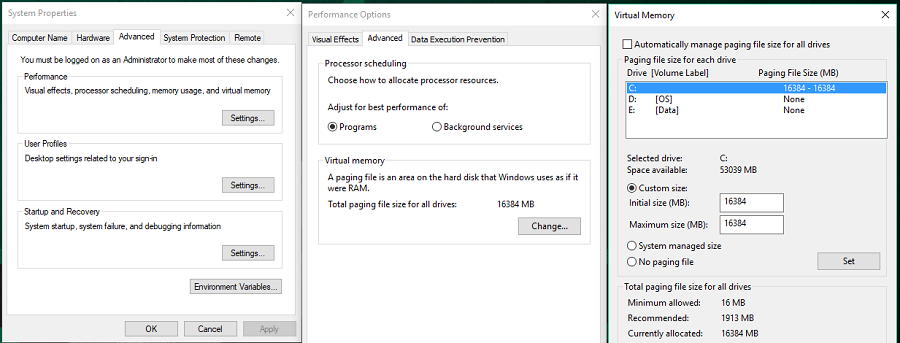
Prior to installing NiceHash, it's wise to increase your virtual memory to guarantee smooth operational efficiency.
To correctly set your virtual memory, search for 'system' in the start menu and open 'Advanced System Settings' under the advanced tab in performance settings. Then, under virtual memory options, opt for custom settings, setting both initial and maximum size fields to 16384, to prevent memory errors.
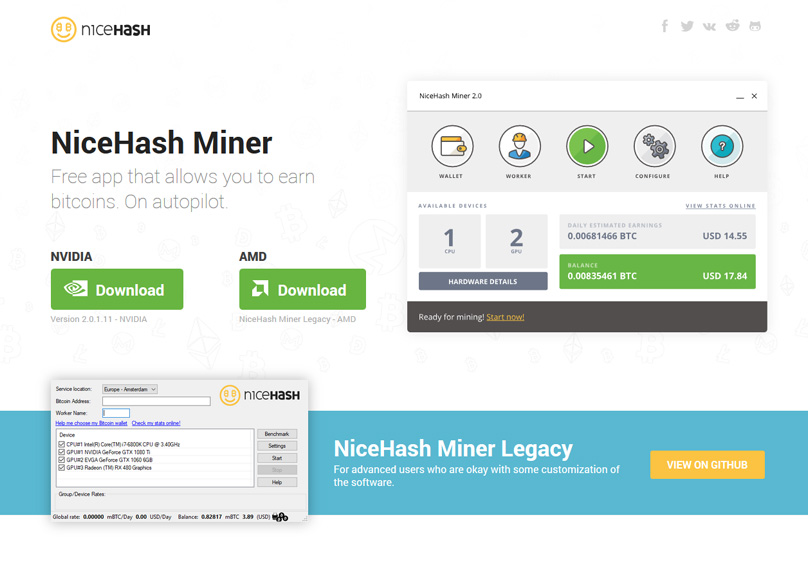
Visit this page Make sure to download the right version for your GPU type—NVIDIA users can download version 2.0, while AMD requires the legacy version.
For nVidia
NVIDIA users can proceed by simply downloading the installer and following through the installation process.
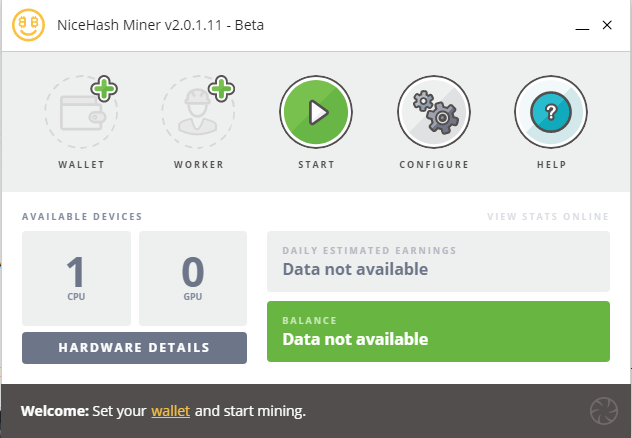
The installation package includes essential components like Microsoft Visual C++ 2017, which facilitate the software's operation. The main screen should appear as described here once installation is complete.
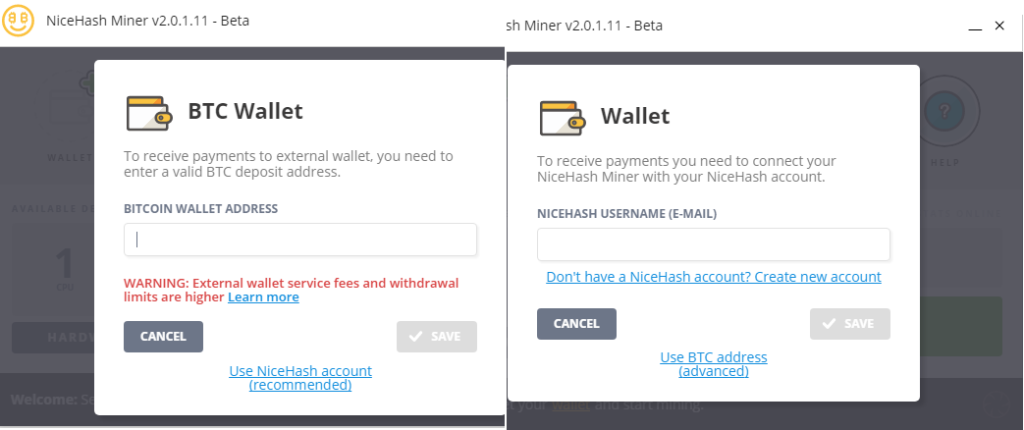
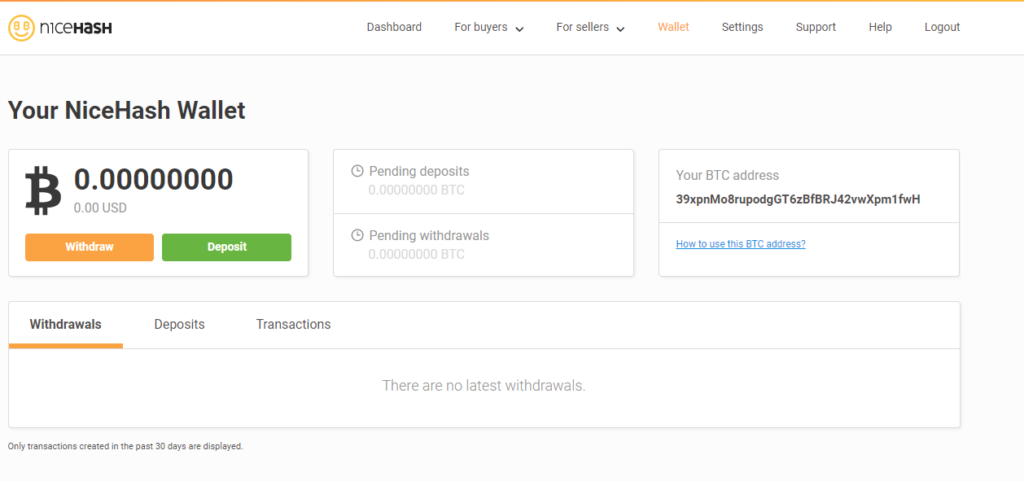
Setting your Bitcoin address involves two routes. They suggest generating one with associated benefits such as reduced fees. NiceHash account When accessing the wallet section, you will have the option to input a BTC address directly in the 'advanced' section for more seasoned users.
For the NiceHash wallet method:
Once you set up an account and log in,
For your personal wallet method:
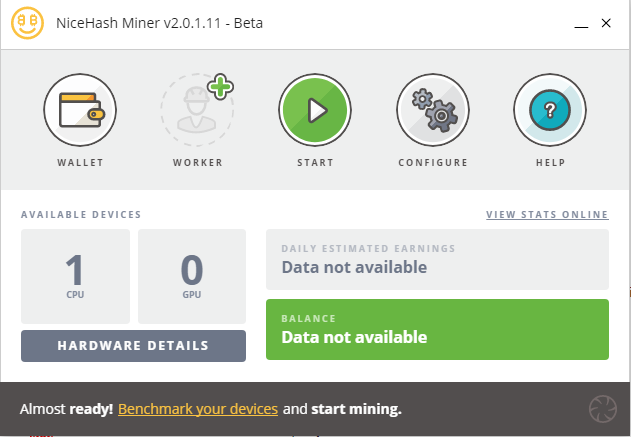
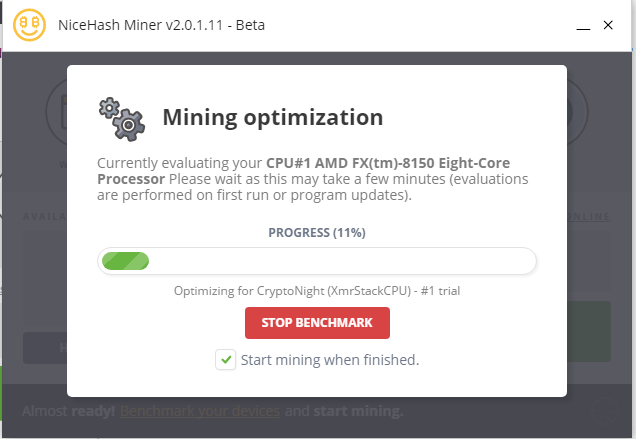
Once your wallet is configured, the next step is to test your devices. A prompt should inform you that device benchmarking is almost ready. Click on the designated area or hit 'start' at the top to proceed. bitcoin wallet address .
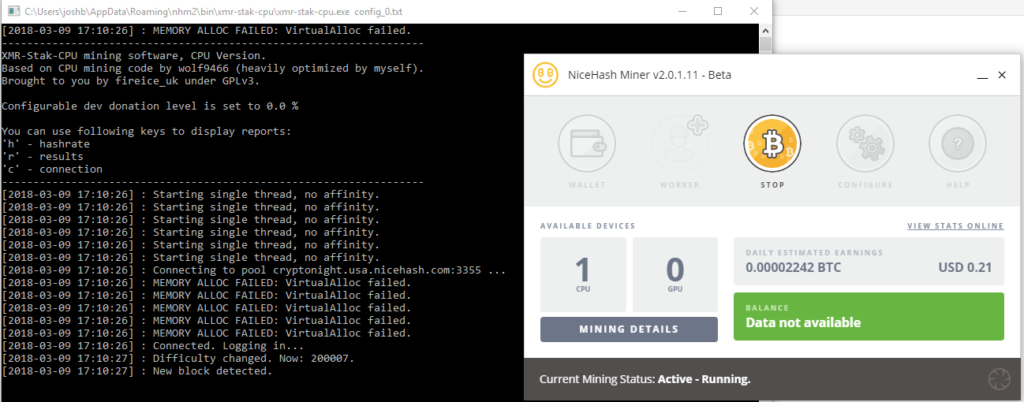
After benchmarking, you'll be ready to kick-start the mining process!
The software initiates mining automatically following a successful benchmark. If your account is set up via NiceHash, withdrawals can be managed through there. Otherwise, external wallet users get payouts dependent on minimum thresholds.
You're all set! Mining should now be occurring as per the specifications of your chosen hardware.
For AMD users, the download takes you to GitHub for the latest zip file compatible with AMD mining, specifically the NHML-1.8.1.9 version.
For AMD
Extract the NHML-1.8.1.9 archive into a designated folder using compression utilities like WinRAR or 7Zip.

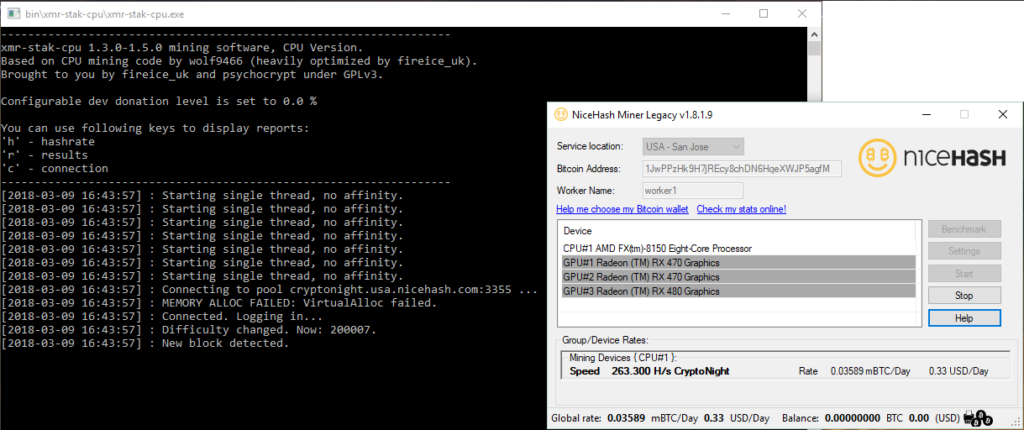
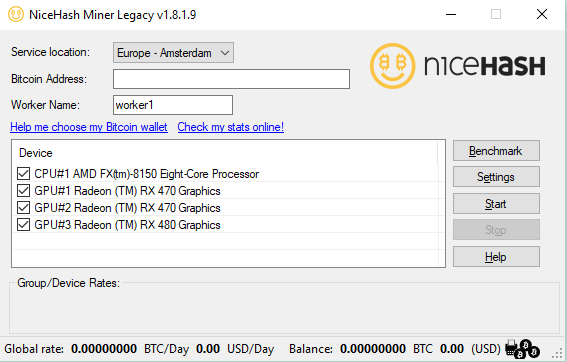
Launch the mining operation by executing NiceHashMinerLegacy.exe, as shown.
The program then fetches and sets up the required mining tools. Upon concluding that, select the devices you'd like to mine with.

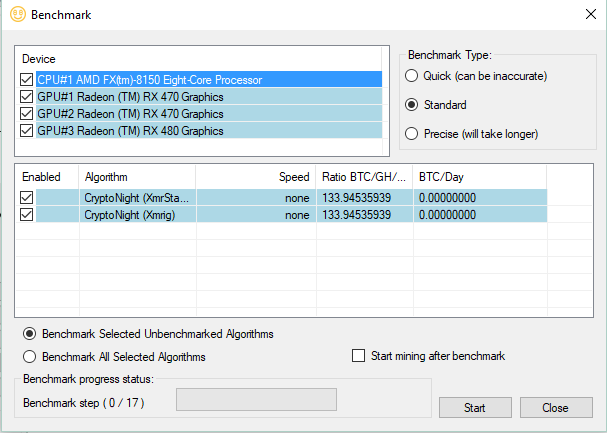
There are two preparatory steps before mining: firstly, run a benchmark by selecting the benchmark option to the right and then hitting start.
On completion of the benchmark, ensure your Bitcoin address is inputted for accurate payout processing. If you lack an address, there's guidance available.
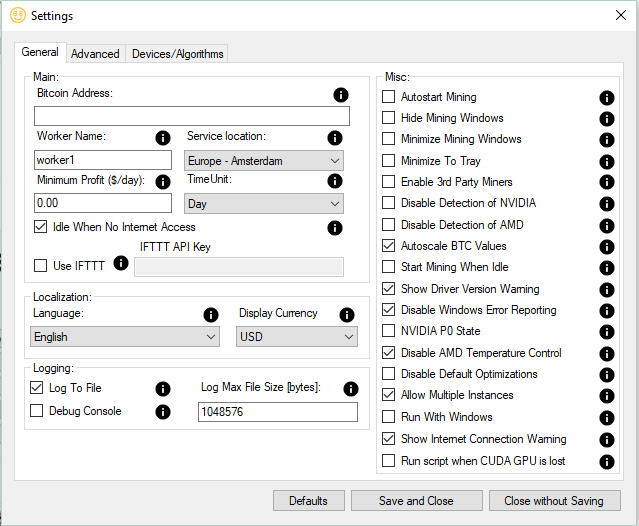
Navigate to Settings from the main menu and input your Bitcoin address in the starting line provided. this guide before proceeding.
Then, finalize the configuration by selecting the server location nearest to you; this step optimizes connection speeds. Remember to permit the software through Windows Defender if prompted.
And there you go! You have officially initiated mining with your selected devices.
Meet a cryptocurrency miner and investor from Edmonton, Alberta, Canada, who owns Blaze Digital Assets.